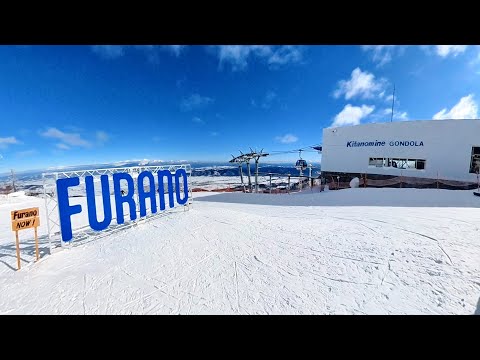
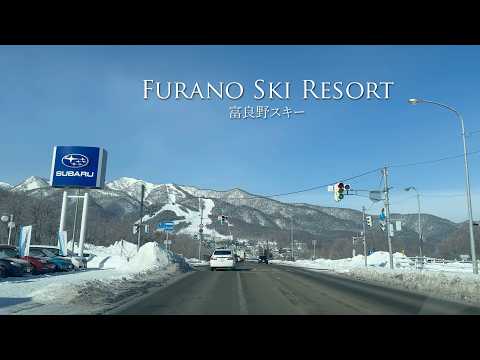
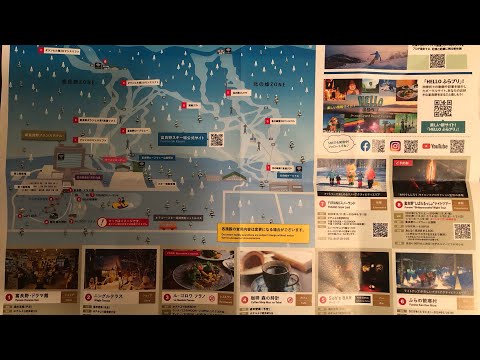
富良野スキー場 スキー場・コース動画レビュー
Browse rider footage of 富良野スキー場's runs — from 連絡C to プリンス. Each section shows real terrain with timestamps for the exact moment on the slope.
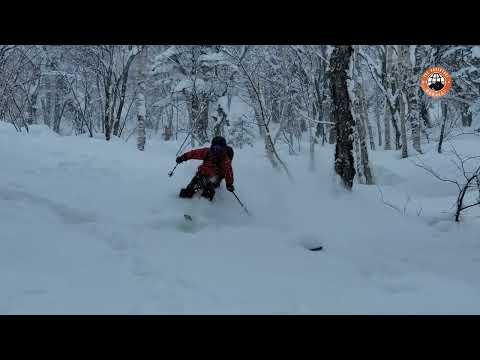
#H1 連絡C
"On the forano side, E2 and H1 have some steeper sections to get your blood circulating. The flat sections leading to H1 may challenge snowboarders."
9 videos
【4K】『富良野スキー場』 (北海道富良野市)バックカントリーアクセスポイント❶&❺紹介
3.6K views
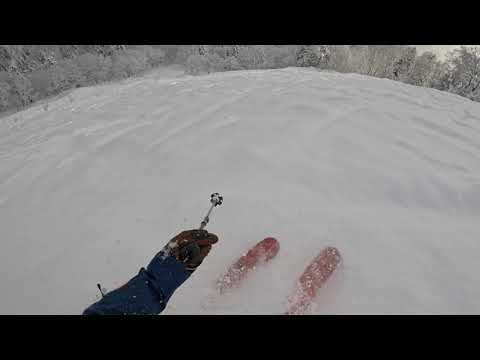
この先、『H1 Course (Max Slope 25°)』に、合流出来ます。これで、今回の動画は、以上になります。視聴する 10:57 on YouTube ↗
【北海道/富良野】富良野スキー場富良野ZONEコース解説(Furano Ski Resort Furano zone/Furano, Hokkaido)
2.2K views
ここを右に行くとH1北のみねゾーンに戻るコースだから注意ね...続いてHコースね言い忘れていたが今回はコースマップの左側を行ってみようと思うぜ視聴する 1:11 on YouTube ↗
Furano Resort Guide | Hokkaido | Japan
7.1K views
On the forano side, E2 and H1 have some steeper sections to get your blood circulating. The flat sections leading to H1 may challenge snowboarders.視聴する 2:43 on YouTube ↗
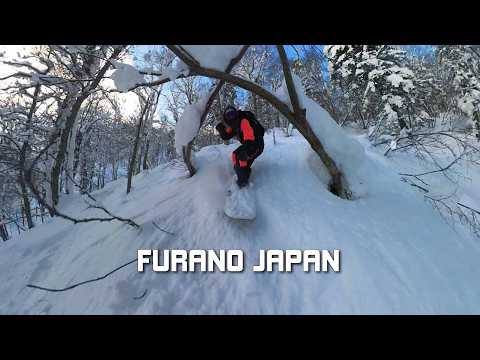
Furano Japan 2025
1.1K views
These two areas are interlocked by either the link lift or the H1 trail. The H1 trail is an intermediate ski run.視聴する 0:50 on YouTube ↗
【富良野(前編)】第2のニセコと言われ注目を集めている富良野スキー場 トップクラスの雪質は海外スキーヤー&ボーダーにも大人気
6.8K views
うんじゃH1f1かな視聴する 24:41 on YouTube ↗
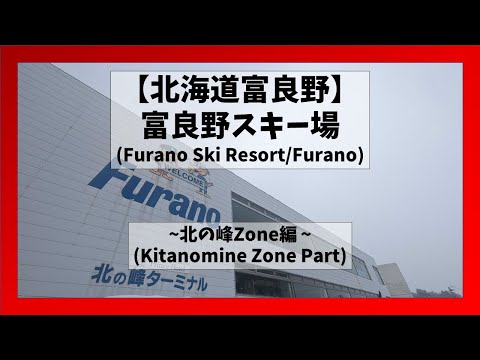
【北海道/富良野】富良野スキー場北の峰ZONEコース解説(Furano Ski Resort Kitanomine zone/Furano, Hokkaido)
5.3K views
ここで富良野がわから来たの峰側への連絡コースのH1と合流あとはまっすぐ連絡リフトを目指す感じね視聴する 7:34 on YouTube ↗
富良野スキー場◆全コースを駆け抜けろ!【 Slope Report at Furano ski resort】
10.3K views
よしじゃあH1コース行きます北の峰エリアの方へ向かってくルートですね はい以上はH1成視聴する 12:14 on YouTube ↗
【北海道/富良野】富良野スキー場富良野ZONEコース解説 A1(Furano Ski Resort_A1/Furano, Hokkaido)
314 views
続いてHコースね言い忘れていたが今回はコースマップの左側を行ってみようと思うぜフラのゾーンは比較的シャドウが緩やかなコースが多いわね視聴する 0:02 on YouTube ↗
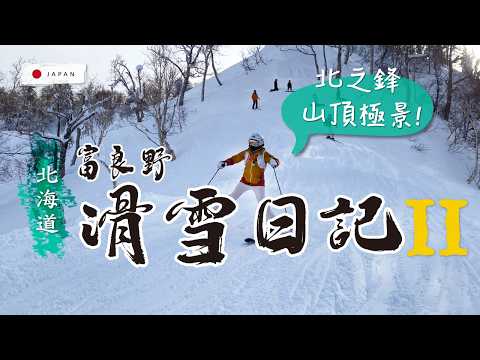
👉 富良野的魅力|滑雪日記❄️2 -- 🔥 整體紅線程度超好玩!寬大好練功!三大雪道一次滑:森林雲霄飛車・神級稜線・饅頭坡爽滑🎿
5.2K views
The H1 course is harder. Yeah. Super tiring. H1 is all walking. Totally flat—like really flat.視聴する 17:23 on YouTube ↗
#C1 プリンス
"C1. C2. C1. C2 is a blue. All right, we'll go to the blue...Now, if you're just beginning the Prince Romance Lift and you're staying on the Prince side at the Prince Hotel"
7 videos
【4K】『富良野スキー場』 (北海道富良野市)バックカントリーアクセスポイント❶&❺紹介
3.6K views
しばらく進んで行くと、『C1 Course』に、合流出来ます。次に、紹介する、「スキー場管理区域以外アクセスポイント❺(バックカントリースキーエリア)」は、北の峰ゾーン(Kitanomine Zone)にあります。視聴する 7:44 on YouTube ↗
【北海道/富良野】富良野スキー場富良野ZONEコース解説(Furano Ski Resort Furano zone/Furano, Hokkaido)
2.2K views
この先3か所に分岐で進行方向に対して左からBにC2C1だぜ今回はC1ね...C1コースは冷奴説らしいがそこまで深くもなく滑りやすかったぜ視聴する 4:48 on YouTube ↗
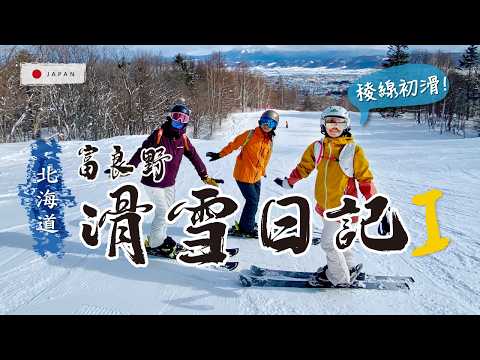
富良野的魅力|滑雪日記Day1❄️ 北之峰一路滑進王子飯店的完美一天
5.6K views
C1 is better — C1 goes straight to the hotel. Furano Prince Hotel — this is the base area. Beginners will really feel a sense of accomplishment coming down here.視聴する 13:56 on YouTube ↗

Complete Guide to Furano Ski Resort (Hokkaido, Japan) – Trails, Tips & POV Runs
13.5K views
C1. C2. C1. C2 is a blue. All right, we'll go to the blue...Now, if you're just beginning the Prince Romance Lift and you're staying on the Prince side at the Prince Hotel視聴する 19:10 on YouTube ↗
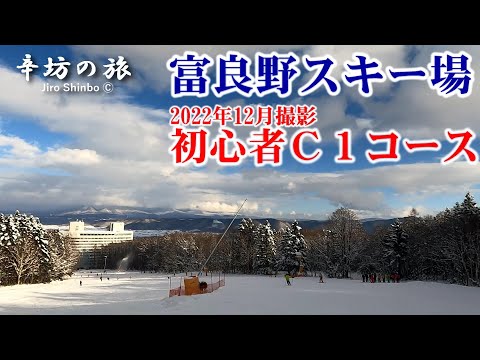
【ノーカット滑走】2022年12月富良野スキー場C1初心者コース 滑走動画/新富良野プリンスホテル ~辛坊の旅~
16.1K views
最初の初心者用のゲレンデです C1だったかなまあ後であの正しい情報はこの辺に入るだろうと思いますけども視聴する 4:55 on YouTube ↗
Furano Resort Guide | Hokkaido | Japan
7.1K views
If you are ready to venture onto the slopes, then C1 and B2 are a great place to start before progressing up to B1.視聴する 2:09 on YouTube ↗
富良野スキー場◆全コースを駆け抜けろ!【 Slope Report at Furano ski resort】
10.3K views
最後の下の方にC1C2コースてとこも全てない視聴する 37:33 on YouTube ↗
#P プレミアムぞゾーン
"しばらく歩くと、『Premium Zone (Max Slope 34°)』と言う、コースが見えてきます。このコースは、過去に、『富良野スキー場 北の峰ゾーン (Kitanomine Zone)」の、YouTube動画で、紹介しています。"
6 videos
【4K】『富良野スキー場』 (北海道富良野市)バックカントリーアクセスポイント❶&❺紹介
3.6K views
しばらく歩くと、『Premium Zone (Max Slope 34°)』と言う、コースが見えてきます。このコースは、過去に、『富良野スキー場 北の峰ゾーン (Kitanomine Zone)」の、YouTube動画で、紹介しています。視聴する 8:47 on YouTube ↗
Furano Resort Guide | Hokkaido | Japan
7.1K views
Premium zone is the most challenging inbounds terrain available.視聴する 3:10 on YouTube ↗
【富良野(前編)】第2のニセコと言われ注目を集めている富良野スキー場 トップクラスの雪質は海外スキーヤー&ボーダーにも大人気
6.8K views
あっちは何で書いあるんだろうプレミアムゾーンオープン10時からクローズ14時までだっって視聴する 27:50 on YouTube ↗
【北海道/富良野】富良野スキー場北の峰ZONEコース解説(Furano Ski Resort Kitanomine zone/Furano, Hokkaido)
5.3K views
プレミアムゾーンを通って連絡リフトからフラのゾーンへ移動しようと思うぜ プレミアムゾーンねここから結構あるぜ視聴する 6:19 on YouTube ↗
富良野スキー場◆全コースを駆け抜けろ!【 Slope Report at Furano ski resort】
10.3K views
このプレミアムゾーンてとこだけはちょっとあの亀裂がねクラックが見つかっちゃったんで滑れないんですけど視聴する 0:50 on YouTube ↗
#B2 ロープウェー
"All right, we'll go ride the ropeway. Hey, go back up towards the top and catch the chair to the top...So, this is the this area here is the Ferrano zone, the Prince Hotel...And then you've got the big the big ropeway loading zone."
6 videos
【4K】『富良野スキー場』 (北海道富良野市)バックカントリーアクセスポイント❶&❺紹介
3.6K views
私は、ここに行くために、富良野ロープウェイに、乗りました。ロープウェイが、かなり混んでいましたね(外国人もたくさんいました)。視聴する 4:07 on YouTube ↗
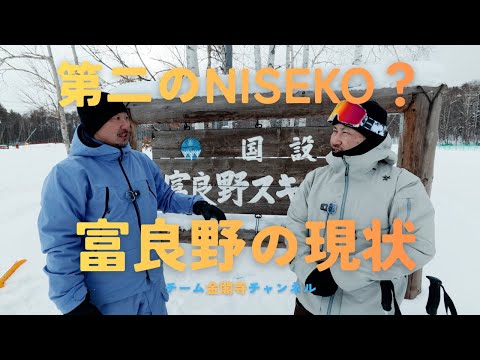
「第2のニセコ」富良野在住、伝説のレジェンドスキーヤーに現状を聞いてみた|チーム金閣寺チャンネル
15.7K views
フラノロープウェ、ここから、え、まずはフラノエリアの上の方上がっていきたいと思います。視聴する 1:59 on YouTube ↗
【北海道/富良野】富良野スキー場富良野ZONEコース解説(Furano Ski Resort Furano zone/Furano, Hokkaido)
2.2K views
ここがフラのロープウェイねここからロープウェイに乗っていこうと思うぜ 降り場に着いたわね ここは簡単な休憩所にもなっていたぜ視聴する 2:40 on YouTube ↗
Complete Guide to Furano Ski Resort (Hokkaido, Japan) – Trails, Tips & POV Runs
13.5K views
All right, we'll go ride the ropeway. Hey, go back up towards the top and catch the chair to the top...So, this is the this area here is the Ferrano zone, the Prince Hotel...And then you've got the big the big ropeway loading zone.視聴する 14:06 on YouTube ↗
Furano Resort Guide | Hokkaido | Japan
7.1K views
If you are ready to venture onto the slopes, then C1 and B2 are a great place to start before progressing up to B1.視聴する 2:09 on YouTube ↗
富良野スキー場◆全コースを駆け抜けろ!【 Slope Report at Furano ski resort】
10.3K views
オッケー以上がB1B2コースです視聴する 9:12 on YouTube ↗
#A3 チャレンジ
"There's the A3 course sign!...I really like the A3 run. There's no one here. And you can choose—the flatter alternate route, or if you want—the steeper mogul side. This course is really fun! There's even some powder on the side."
5 videos
【北海道/富良野】富良野スキー場富良野ZONEコース解説(Furano Ski Resort Furano zone/Furano, Hokkaido)
2.2K views
まずはフラのエリアのコースマップの右A3からD3を滑っていくぜここを右に行くとH1北のみねゾーンに戻るコースだから注意ね視聴する 1:06 on YouTube ↗
Furano Resort Guide | Hokkaido | Japan
7.1K views
A3 on the Ferrano side starts with bumps and finishes as a treeline groomed cruiser.視聴する 2:58 on YouTube ↗
【富良野(前編)】第2のニセコと言われ注目を集めている富良野スキー場 トップクラスの雪質は海外スキーヤー&ボーダーにも大人気
6.8K views
じゃあA3の行て 狭そうね視聴する 22:48 on YouTube ↗
富良野スキー場◆全コースを駆け抜けろ!【 Slope Report at Furano ski resort】
10.3K views
じゃあA3行きましょうA3です1番長そうなステッチです え3クローズするA3クローズする視聴する 34:58 on YouTube ↗
👉 富良野的魅力|滑雪日記❄️2 -- 🔥 整體紅線程度超好玩!寬大好練功!三大雪道一次滑:森林雲霄飛車・神級稜線・饅頭坡爽滑🎿
5.2K views
There's the A3 course sign!...I really like the A3 run. There's no one here. And you can choose—the flatter alternate route, or if you want—the steeper mogul side. This course is really fun! There's even some powder on the side.視聴する 12:15 on YouTube ↗
#A4 くまげら
"while A4, K2, and K4 are short, steep mogul trails."
2 videos
Furano Resort Guide | Hokkaido | Japan
7.1K views
while A4, K2, and K4 are short, steep mogul trails.視聴する 3:06 on YouTube ↗
富良野スキー場◆全コースを駆け抜けろ!【 Slope Report at Furano ski resort】
10.3K views
はいじゃあA3クローズ戦でA4行きます はい以上がA4でした視聴する 36:11 on YouTube ↗
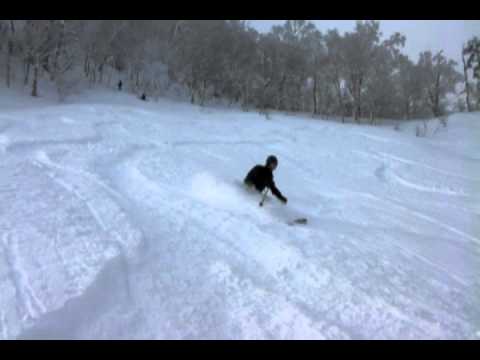
#E1 パノラマ
"リフトを降りて左がいい1右がいいみたいだぜ今回は右のいいね...いいに滑っていくぜここがおそらくフラのスキー場全体で最高標高...ここでいい位置と合流"
4 videos
「第2のニセコ」富良野在住、伝説のレジェンドスキーヤーに現状を聞いてみた|チーム金閣寺チャンネル
15.7K views
では、では裏のエリアトップから滑っていきたいと思います。これはE1コース。はい。E1コース。E1コース。向こうが冷ですね。視聴する 10:05 on YouTube ↗
【北海道/富良野】富良野スキー場富良野ZONEコース解説(Furano Ski Resort Furano zone/Furano, Hokkaido)
2.2K views
リフトを降りて左がいい1右がいいみたいだぜ今回は右のいいね...いいに滑っていくぜここがおそらくフラのスキー場全体で最高標高...ここでいい位置と合流視聴する 3:10 on YouTube ↗
【富良野(前編)】第2のニセコと言われ注目を集めている富良野スキー場 トップクラスの雪質は海外スキーヤー&ボーダーにも大人気
6.8K views
真っ右側は綺麗なパウダー E1E1の方が黒いんすね右の方が柔らかいんか視聴する 14:29 on YouTube ↗
富良野スキー場◆全コースを駆け抜けろ!【 Slope Report at Furano ski resort】
10.3K views
まずここ上部かフラノゾーン上部かのこのE1コース視聴する 37:19 on YouTube ↗
#K2 フリコ沢
"while A4, K2, and K4 are short, steep mogul trails."
4 videos
Furano Resort Guide | Hokkaido | Japan
7.1K views
while A4, K2, and K4 are short, steep mogul trails.視聴する 3:06 on YouTube ↗
【富良野(前編)】第2のニセコと言われ注目を集めている富良野スキー場 トップクラスの雪質は海外スキーヤー&ボーダーにも大人気
6.8K views
K1K2です帰るよあっちから右です視聴する 30:53 on YouTube ↗
【北海道/富良野】富良野スキー場北の峰ZONEコース解説(Furano Ski Resort Kitanomine zone/Furano, Hokkaido)
5.3K views
ここ間違えたが実は分岐で左が計算右がK1みたいだぜ視聴する 2:00 on YouTube ↗
富良野スキー場◆全コースを駆け抜けろ!【 Slope Report at Furano ski resort】
10.3K views
このK2こんなコース滑っちゃダメだからね地獄見るからね視聴する 28:30 on YouTube ↗
#K4 裏小壁
"はいただいまK4が難民なんですけど多分このヒュッてを行ってこっち側がおそらくK4だと思われるんでこっち行きましょうK4行き"
3 videos
Furano Resort Guide | Hokkaido | Japan
7.1K views
while A4, K2, and K4 are short, steep mogul trails.視聴する 3:06 on YouTube ↗
【北海道/富良野】富良野スキー場北の峰ZONEコース解説(Furano Ski Resort Kitanomine zone/Furano, Hokkaido)
5.3K views
左側へ行くとK4G1g2G3方面への分岐だぜ視聴する 2:20 on YouTube ↗
富良野スキー場◆全コースを駆け抜けろ!【 Slope Report at Furano ski resort】
10.3K views
はいただいまK4が難民なんですけど多分このヒュッてを行ってこっち側がおそらくK4だと思われるんでこっち行きましょうK4行き視聴する 31:05 on YouTube ↗
#D3 furano-ski-run-667342801
"まずはフラのエリアのコースマップの右A3からD3を滑っていくぜ"
1 video
【北海道/富良野】富良野スキー場富良野ZONEコース解説(Furano Ski Resort Furano zone/Furano, Hokkaido)
2.2K views
まずはフラのエリアのコースマップの右A3からD3を滑っていくぜ視聴する 1:06 on YouTube ↗
#A2 ザイラー
"A2 and F2 are longer rolling groomers from mid-mountain that tend to have less traffic."
4 videos
「第2のニセコ」富良野在住、伝説のレジェンドスキーヤーに現状を聞いてみた|チーム金閣寺チャンネル
15.7K views
はい。A2、え、A1降りてきたんですよね、今。うん。うん。視聴する 12:54 on YouTube ↗
【北海道/富良野】富良野スキー場富良野ZONEコース解説(Furano Ski Resort Furano zone/Furano, Hokkaido)
2.2K views
ここでA2と合流...着いたぜリフト降りて右側A2コースね 最後にA2コース滑っていくぜ視聴する 2:27 on YouTube ↗
Furano Resort Guide | Hokkaido | Japan
7.1K views
A2 and F2 are longer rolling groomers from mid-mountain that tend to have less traffic.視聴する 2:29 on YouTube ↗
富良野スキー場◆全コースを駆け抜けろ!【 Slope Report at Furano ski resort】
10.3K views
e2コースA1コースA2コースかな視聴する 2:08 on YouTube ↗
#G3 ジャイアント
"K1 and G3 on the Kitonomino side are great for building skills."
2 videos
Furano Resort Guide | Hokkaido | Japan
7.1K views
K1 and G3 on the Kitonomino side are great for building skills.視聴する 2:38 on YouTube ↗
【北海道/富良野】富良野スキー場北の峰ZONEコース解説(Furano Ski Resort Kitanomine zone/Furano, Hokkaido)
5.3K views
次にG3コースここは右側が非圧接みたいねただこの日はあまり説明が良くなかったから左側行くぜ視聴する 5:12 on YouTube ↗
#A1 スピース
"はい。A2、え、A1降りてきたんですよね、今。うん。うん。で、この奥に見える液車がシンプルの脇にあるあのクワッドリフト結構このかなり上部まで来るんで"
4 videos
「第2のニセコ」富良野在住、伝説のレジェンドスキーヤーに現状を聞いてみた|チーム金閣寺チャンネル
15.7K views
はい。A2、え、A1降りてきたんですよね、今。うん。うん。で、この奥に見える液車がシンプルの脇にあるあのクワッドリフト結構このかなり上部まで来るんで視聴する 12:54 on YouTube ↗
Furano Resort Guide | Hokkaido | Japan
7.1K views
short punchy groomers like G2 and A1 to warm up.視聴する 2:26 on YouTube ↗
富良野スキー場◆全コースを駆け抜けろ!【 Slope Report at Furano ski resort】
10.3K views
e2コースA1コースA2コースかな視聴する 2:08 on YouTube ↗
【北海道/富良野】富良野スキー場富良野ZONEコース解説 A1(Furano Ski Resort_A1/Furano, Hokkaido)
314 views
難易度としてはフラのゾーンの方が全体的に低めな印象だぜここからAに分岐できるみたいね視聴する 0:17 on YouTube ↗
#G2 ダイナミシク
"short punchy groomers like G2 and A1 to warm up."
3 videos
Furano Resort Guide | Hokkaido | Japan
7.1K views
short punchy groomers like G2 and A1 to warm up.視聴する 2:26 on YouTube ↗
【北海道/富良野】富良野スキー場北の峰ZONEコース解説(Furano Ski Resort Kitanomine zone/Furano, Hokkaido)
5.3K views
左側へ行くとK4G1g2G3方面への分岐だぜ視聴する 2:20 on YouTube ↗
富良野スキー場◆全コースを駆け抜けろ!【 Slope Report at Furano ski resort】
10.3K views
K1スタートK3K4えg2F4視聴する 16:46 on YouTube ↗
#E2 テクニカル
"From that E2 ridgeline—you can see… A little further ahead—you can see the top of that small lift. There's a Christmas tree up there. We'll start our run from here."
4 videos
【北海道/富良野】富良野スキー場富良野ZONEコース解説(Furano Ski Resort Furano zone/Furano, Hokkaido)
2.2K views
e2はさっきのリフト乗り場とロープウェイオリババでね視聴する 3:45 on YouTube ↗
Furano Resort Guide | Hokkaido | Japan
7.1K views
On the forano side, E2 and H1 have some steeper sections to get your blood circulating before testing yourself on the black trails.視聴する 2:43 on YouTube ↗
富良野スキー場◆全コースを駆け抜けろ!【 Slope Report at Furano ski resort】
10.3K views
ではクラムゾーントップ2ボトム行きます e2コースA1コースA2コースかな視聴する 2:04 on YouTube ↗
👉 富良野的魅力|滑雪日記❄️2 -- 🔥 整體紅線程度超好玩!寬大好練功!三大雪道一次滑:森林雲霄飛車・神級稜線・饅頭坡爽滑🎿
5.2K views
From that E2 ridgeline—you can see… A little further ahead—you can see the top of that small lift. There's a Christmas tree up there. We'll start our run from here.視聴する 16:33 on YouTube ↗
#C2 とどまつ
"C1. C2. C1. C2 is a blue. All right, we'll go to the blue."
3 videos
【北海道/富良野】富良野スキー場富良野ZONEコース解説(Furano Ski Resort Furano zone/Furano, Hokkaido)
2.2K views
この先3か所に分岐で進行方向に対して左からBにC2C1だぜ今回はC1ね視聴する 4:45 on YouTube ↗
Complete Guide to Furano Ski Resort (Hokkaido, Japan) – Trails, Tips & POV Runs
13.5K views
C1. C2. C1. C2 is a blue. All right, we'll go to the blue.視聴する 19:10 on YouTube ↗
富良野スキー場◆全コースを駆け抜けろ!【 Slope Report at Furano ski resort】
10.3K views
最後の下の方にC1C2コースてとこも全てない視聴する 37:33 on YouTube ↗
#F2 トレーニングバーン
"A2 and F2 are longer rolling groomers from mid-mountain that tend to have less traffic."
2 videos
Furano Resort Guide | Hokkaido | Japan
7.1K views
A2 and F2 are longer rolling groomers from mid-mountain that tend to have less traffic.視聴する 2:29 on YouTube ↗
【北海道/富良野】富良野スキー場北の峰ZONEコース解説(Furano Ski Resort Kitanomine zone/Furano, Hokkaido)
5.3K views
ここでF2との合流F1はここまでね視聴する 3:44 on YouTube ↗
#K1 レディースダウンヒル
"K1 and G3 on the Kitonomino side are great for building skills."
4 videos
Furano Resort Guide | Hokkaido | Japan
7.1K views
K1 and G3 on the Kitonomino side are great for building skills.視聴する 2:38 on YouTube ↗
【富良野(前編)】第2のニセコと言われ注目を集めている富良野スキー場 トップクラスの雪質は海外スキーヤー&ボーダーにも大人気
6.8K views
K1K2です帰るよあっちから右です視聴する 30:53 on YouTube ↗
【北海道/富良野】富良野スキー場北の峰ZONEコース解説(Furano Ski Resort Kitanomine zone/Furano, Hokkaido)
5.3K views
まずは1本目K1K2F1の順に流していこうと思います 今回も倍速でお届けねまずはK1視聴する 1:40 on YouTube ↗
富良野スキー場◆全コースを駆け抜けろ!【 Slope Report at Furano ski resort】
10.3K views
はいじゃあ北のみゾーン特ボトに行きますえここK1スタートK3K4えg2F4視聴する 16:46 on YouTube ↗
furano-ski-kokabe
"直進方向はG1と書いてあり上り坂気味だぜ"
1 video
【北海道/富良野】富良野スキー場北の峰ZONEコース解説(Furano Ski Resort Kitanomine zone/Furano, Hokkaido)
5.3K views
直進方向はG1と書いてあり上り坂気味だぜ視聴する 3:01 on YouTube ↗
furano-ski-ladies-downhill
"K3 stands out as a mogulp packed run that connects with intermediate K1, creating that interesting combination where you can enjoy scenic cruising, then immediately test your bump skiing skills."
3 videos
Furano Resort Guide | Hokkaido | Japan
7.1K views
K3 provides a decent length advanced trail, while A4, K2, and K4 are short, steep mogul trails.視聴する 3:04 on YouTube ↗
富良野スキー場◆全コースを駆け抜けろ!【 Slope Report at Furano ski resort】
10.3K views
K1スタートK3K4えg2F4 以上がえK3をと通ボトンした視聴する 16:46 on YouTube ↗
Furano Resort Review | Hokkaido | Japan
19.2K views
K3 stands out as a mogulp packed run that connects with intermediate K1, creating that interesting combination where you can enjoy scenic cruising, then immediately test your bump skiing skills.視聴する 4:49 on YouTube ↗
furano-ski-run-667069895
"The K1 run became my personal favorite during the visit, combining excellent intermediate skiing with those incredible views across the valley to Mount Furano and Mount Tokachi."
1 video
Furano Resort Review | Hokkaido | Japan
19.2K views
The K1 run became my personal favorite during the visit, combining excellent intermediate skiing with those incredible views across the valley to Mount Furano and Mount Tokachi.視聴する 4:10 on YouTube ↗
#F4 アゼリア
"F7 provides a gentle start for beginners who can then level up to F4 and F6 to develop skills."
3 videos
Furano Resort Guide | Hokkaido | Japan
7.1K views
F7 provides a gentle start for beginners who can then level up to F4 and F6 to develop skills.視聴する 2:18 on YouTube ↗
【北海道/富良野】富良野スキー場北の峰ZONEコース解説(Furano Ski Resort Kitanomine zone/Furano, Hokkaido)
5.3K views
ここも分岐と合流ね右に行くと非圧雪のF4だが今回は左のF5からゴンドラに戻るぜ視聴する 3:51 on YouTube ↗
富良野スキー場◆全コースを駆け抜けろ!【 Slope Report at Furano ski resort】
10.3K views
K1スタートK3K4えg2F4ありに狙た視聴する 16:52 on YouTube ↗
#B1 スピース
"This is a green run with a maximum slope of 32 degrees. B1 might be a bit wider. Let's give it a try."
4 videos
【北海道/富良野】富良野スキー場富良野ZONEコース解説(Furano Ski Resort Furano zone/Furano, Hokkaido)
2.2K views
続いてB1コース第1高速リフトの入り口が目印ねここのコースマップ左側のコースは特に全体的に感謝面で気軽にフリーランスにはちょうど良い感じのコースだぜ初心者の方にもおすすめね視聴する 4:15 on YouTube ↗
富良野的魅力|滑雪日記Day1❄️ 北之峰一路滑進王子飯店的完美一天
5.6K views
This is a green run with a maximum slope of 32 degrees. B1 might be a bit wider. Let's give it a try.視聴する 12:17 on YouTube ↗
Furano Resort Guide | Hokkaido | Japan
7.1K views
C1 and B2 are a great place to start before progressing up to B1.視聴する 2:11 on YouTube ↗
富良野スキー場◆全コースを駆け抜けろ!【 Slope Report at Furano ski resort】
10.3K views
行きましょうB1Bき オッケー以上がB1B2コースです視聴する 6:42 on YouTube ↗
#F6 ファミリー
"F7 provides a gentle start for beginners who can then level up to F4 and F6 to develop skills."
3 videos
「第2のニセコ」富良野在住、伝説のレジェンドスキーヤーに現状を聞いてみた|チーム金閣寺チャンネル
15.7K views
うん。気持ちよくカービングしていくし。ファミリーもいいよね。そうですね。子供向けでもあるし。視聴する 15:58 on YouTube ↗
Furano Resort Guide | Hokkaido | Japan
7.1K views
F7 provides a gentle start for beginners who can then level up to F4 and F6 to develop skills.視聴する 2:18 on YouTube ↗
【北海道/富良野】富良野スキー場北の峰ZONEコース解説(Furano Ski Resort Kitanomine zone/Furano, Hokkaido)
5.3K views
ここがF6だぜ 続いてF6コースね かなり幅の広い感謝面だぜお子さんや初心者の方も比較的安心して滑れるわね視聴する 4:12 on YouTube ↗
#F7 レッスン
"Across at Kiton zone, F7 provides a gentle start for beginners who can then level up to F4 and F6 to develop skills."
1 video
Furano Resort Guide | Hokkaido | Japan
7.1K views
Across at Kiton zone, F7 provides a gentle start for beginners who can then level up to F4 and F6 to develop skills.視聴する 2:13 on YouTube ↗
#F1 林間
"か林間コース なんかこういうとこ楽しいね。こういうなんかなんかすごい楽しいこういうリココース。はい。ベースエリア。"
4 videos
「第2のニセコ」富良野在住、伝説のレジェンドスキーヤーに現状を聞いてみた|チーム金閣寺チャンネル
15.7K views
か林間コース なんかこういうとこ楽しいね。こういうなんかなんかすごい楽しいこういうリココース。はい。ベースエリア。視聴する 37:31 on YouTube ↗
【富良野(前編)】第2のニセコと言われ注目を集めている富良野スキー場 トップクラスの雪質は海外スキーヤー&ボーダーにも大人気
6.8K views
うんじゃH1f1かな視聴する 24:41 on YouTube ↗
【北海道/富良野】富良野スキー場北の峰ZONEコース解説(Furano Ski Resort Kitanomine zone/Furano, Hokkaido)
5.3K views
次はF1方面よねその通り次は分岐を右側に行くんだけど ここでF2との合流F1はここまでね視聴する 2:57 on YouTube ↗
富良野スキー場◆全コースを駆け抜けろ!【 Slope Report at Furano ski resort】
10.3K views
そうですねちょっとF1に切り替え視聴する 19:48 on YouTube ↗
1 video
富良野スキー場◆全コースを駆け抜けろ!【 Slope Report at Furano ski resort】
10.3K views
はい以上がD2構成ちゃんちゃん視聴する 12:09 on YouTube ↗
スキー場概要動画
 Review 13:22
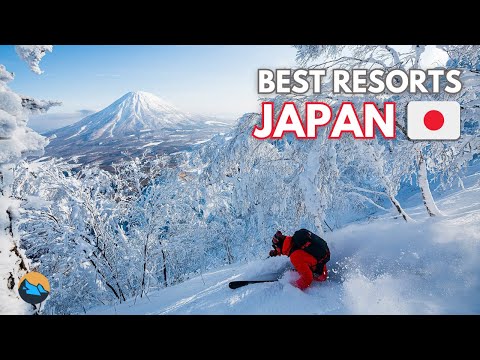
 The BEST "SKI TOWNS" in JAPAN
The Slippery Slope 20K subs
198K views 2024
 POV 7:50
 【北海道】トッププロ佐藤秀平と上から下まで!【富良野スキー場 】 // Who's TV #174
Who’s TV / by Fumika Hoshino 38K subs
60K views 2020
 Review 9:27
 Top 10 Ski Resorts in Japan | 2025/2026
mountainsight 9K subs
44K views 2025
 Review 13:30
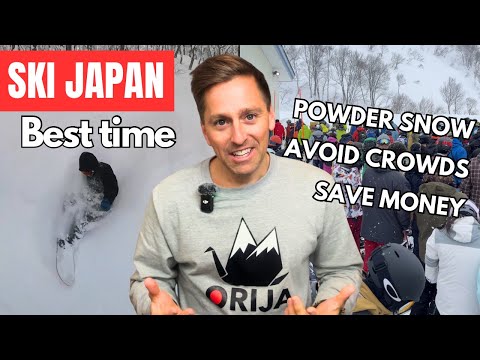
 When is the best time to ski Japan?
Matt Guy 59K subs
42K views 2025
 Vlog 10:48
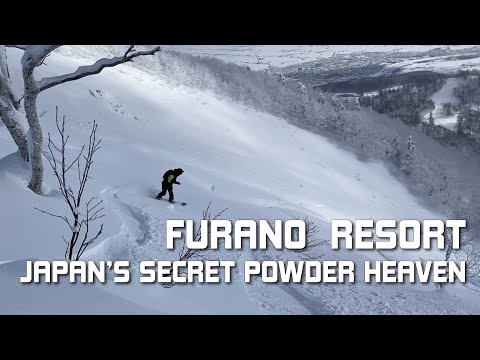
 FURANO: Snowboarding Japan's Secret Powder Heaven
Bo Pollard 2K subs
40K views 2023
 POV 20:33
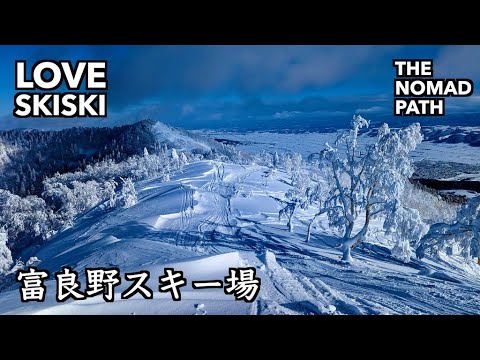
 【富良野スキー場】バックカントリー & 樹氷を満喫!冬の絶景とパウダースノー - LOVE SKISKI
犬と暮らす旅人 / Love Nomad Life 1K subs
36K views 2023
 Overview 8:10
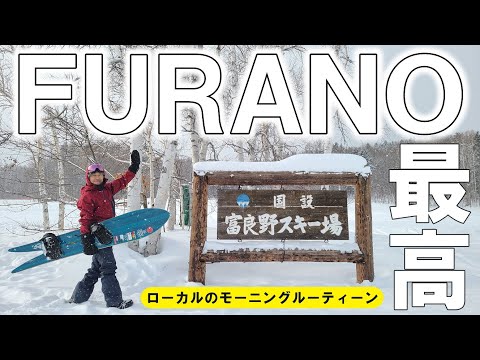
 【朝イチライド】ビッグリゾート!富良野スキー場ローカルによるモーニングルーティーン!【いただきます】
Spray 19K subs
36K views 2023
 POV 22:51
 世界トップクラスの雪質と規模を誇る北海道のスノーリゾート!極上ドライパウダーを堪能
ナッチューブ 18K subs
26K views 2025
 Vlog 9:34
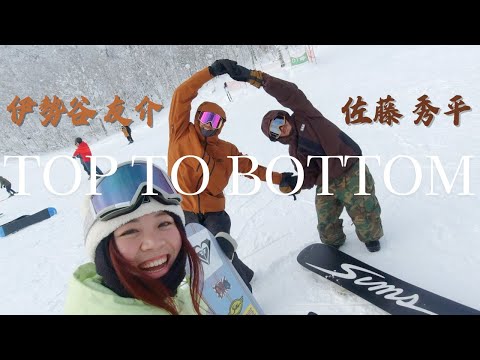
 富良野が爽快すぎる!佐藤秀平、伊勢谷友介と初パウダー! 【FURANO】
Who’s TV / by Fumika Hoshino 38K subs
23K views 2025
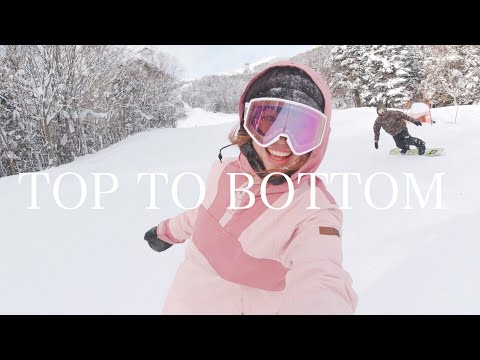
![【富良野】北の峰の山頂から山麓まで一気に滑り降りる[TOP TO BOTTOM]|TAKEHIRO](https://img.youtube.com/vi/k4oiSZQz7Gc/hqdefault.jpg) POV 8:16
POV 8:16 【富良野】北の峰の山頂から山麓まで一気に滑り降りる[TOP TO BOTTOM]|TAKEHIRO
Takehiro SKI Channel 71K subs
23K views 2021
 Other 8:51
 Is this the BEST snow resort in Japan? Hoshino Resorts Tomamu FULL TOUR
Hangry By Nature 97K subs
22K views 2025
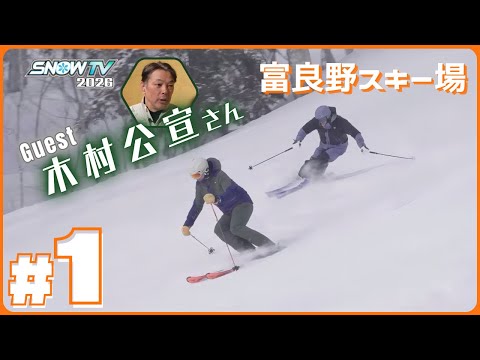 Overview 29:50
 【SNOWTV2026 #1 富良野スキー場】元アルペンレーサー岡部哲也が国内外の雪山を滑りゲレンデへの旅の楽しさをお届けします🎿今回のゲストは木村公宣さん✨
SNOWTV 8K subs
22K views 2026
 POV 10:28
 Japan | ski Furano p.1 (with trail map) #furano #skiing #japan #hokkaido #snow #shorts
Snowtastic Day 421 subs
20K views 2020
 POV 4:46
 【日本一!?】コンディション最高の富良野スキー場オープン!!
須川尚樹 SKI CHANNEL 14K subs
16K views 2020
 Other 3:57
 Rusutsu vs Niseko - A Quick Comparison Ski Guide Sapporo Japan
Richard Fang - Travel Reviews and Guides in Asia 3K subs
15K views 2024
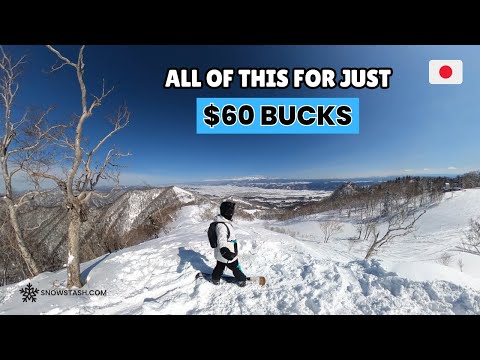
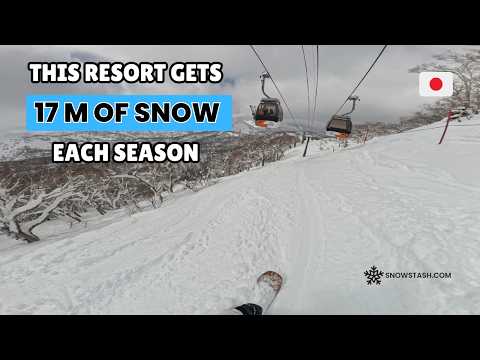
 Vlog 25:15
 Furano Ski Resort, Hokkaido, Japan
SnowStash 59K subs
14K views 2024
 Review 0:59
 Japan Ski Resort as Niseko Alternatives #3 - Furano Ski Resort
Japowday 512 subs
12K views 2024
 Vlog 25:42
 【北海道・富良野×スキー】LOVE SKI HOKKAIDO 2026 #1
TVh テレビ北海道 TV HOKKAIDO 29K subs
12K views 2026
 Vlog 11:58
 FURANO is Deep! Best Resort in Hokkaido?
Ryan B 10K subs
11K views 2023
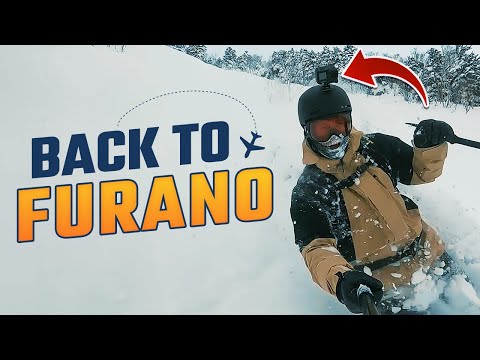 Vlog 13:38
 Back to Furano - Japan powder skiing Vlog
Propa 13K subs
11K views 2023
 Vlog 5:52
 FURANO is Insane!!! #vanlife #車中泊 #hokkaido
Ryan B 10K subs
11K views 2023
 POV 12:30
 2021/2/12 富良野スキー場 絶景の富良野ZONE山頂から連絡コースを通って北の峰ZONEまで4kmほど一気に滑り降りてみました。
山田竜也のへっぽこアウトドアらいふ(スキー、登山、温泉) 2K subs
10K views 2021
 POV 9:42
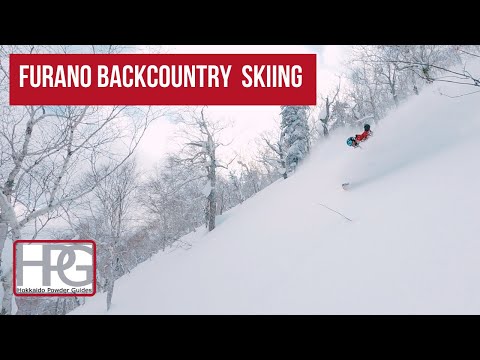
 FURANO, 富良野 BACKCOUNTRY SKIING; A day out in Central Hokkaido, Japan
Hokkaido Powder Guides 1K subs
10K views 2022
 Other 17:52
 Kiroro Resort Review | Best Tree Riding In Japan???
SnowStash 59K subs
10K views 2025
 POV 0:14
 Out of our depth 😅 #furano #japan #skiing #snowboarding #skitouring #backcountry #volcano #snow
Blaize Kelly 5K subs
9K views 2025
 Vlog 17:47
 Wonderful Ski Trip at Furano Ski Resort – Hokkaido Japan (Ski During the Day & Onsen at Night!)
1001nights 2K subs
9K views 2024
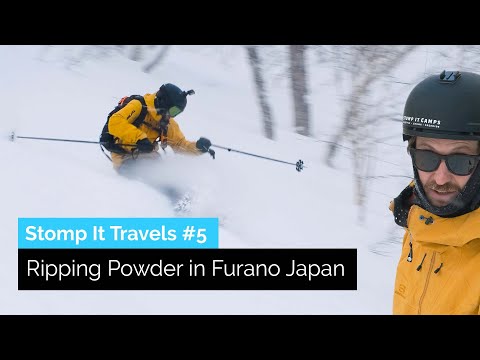 POV 11:50
 Ripping Powder in Furano Japan | Stomp It Travels
Stomp It Tutorials 432K subs
7K views 2025
 Review 18:51
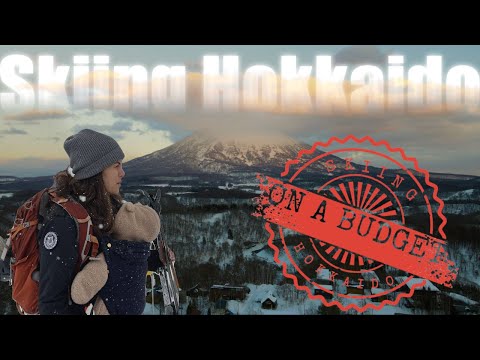
 Budget Skiing in Hokkaido: Where to Stay, Ski, and Save
The Vanabond Tales 2K subs
7K views 2025
 POV 0:35
 Furano Ski Resort – Hokkaido, Japan
Todd's Japan Ski Trip 2K subs
6K views 2025
 POV 2:27
 Furano Powder Tours - Hokkaido, Japan Skiing
Furano Powder Tours 175 subs
6K views 2023
 POV 30:12
 The BEST Powder I've Ever Skied!🔥
Blaize Kelly 5K subs
6K views 2026
 Vlog 15:27
 Furano Trip & Snow Mountain skiing / Hokkaido Winter Vlog
HOKKAIDO LIFE 1K subs
5K views 2025
 POV 2:32
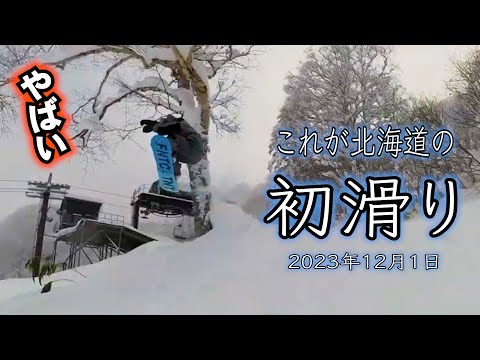
 滑りたくなる動画⚡️富良野スキー場オープン初日 2023月12月1日初滑りワンデイまとめ 北海道は天然雪を通り越して極上パウダーでシーズンイン
スノボー先生 by LATEproject 176K subs
5K views 2024
 POV 0:12
 One of my favorite places to ride 🙏🏻 #japan #furano #snowboarding #snow#powder#rider#snowboard#yea
JJ Thomas 2K subs
5K views 2024
 Review 0:51
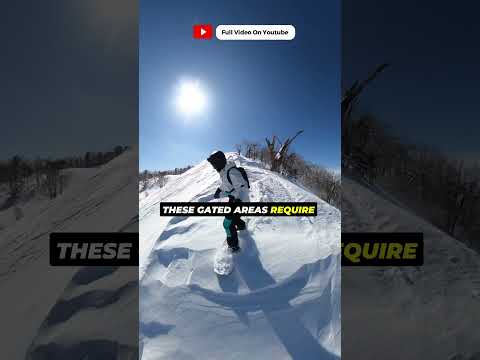
 5 Gates at Furano Lead To Terrain That'll Humble Expert Skiers
SnowStash 59K subs
4K views 2025
 POV 10:53
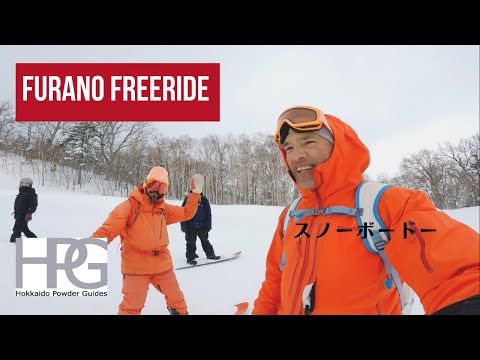
 FURANO 富良野 FREERIDE; Benefits of a quiver?
Hokkaido Powder Guides 1K subs
4K views 2022
 POV 11:26
 FURANO JAPAN: Snowboarding guided by a local legend.
Bo Pollard 2K subs
3K views 2026
 POV 6:30
 Furano Resort Japan | Exploring Furano's sidecountry terrain on a powder day
Amber Of All Trades 58 subs
3K views 2023
 Review 4:51
 Skiing in Japan Guide - (North Japan - Niseko, Rusutsu, Furano Ski Resorts)
Richard Fang - Travel Reviews and Guides in Asia 3K subs
3K views 2025
 POV 0:13
 Furano is something else 🙏#furano #japan #skiing #snowboarding #skitouring #backcountry #volcano
Blaize Kelly 5K subs
3K views 2025
 Review 16:36
 Snowboarding in Furano, Hokkaido The Ultimate Guide from Asahikawa Base Camp
Felix on the Move 207 subs
2K views 2025
 Other 9:41
 Furano is amazing at the end of spring. There's still skiing and more...
Getting To Know Japan 英語工房 3K subs
2K views 2025
 POV 10:31
 【スノボ】北海道ゲレンデの最適解かもしれない【富良野スキー場】
SHIITAKE FILMS (たのしいたけ) 513 subs
2K views 2024
 Vlog 12:24
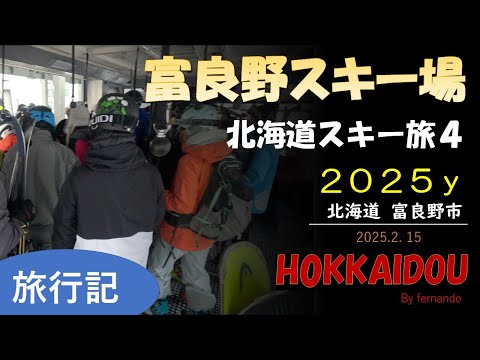
 2025 北海道スキー旅④2.15 富良野スキー場(⛄)
fernandoの旅まみれ fernando-travel life 855 subs
2K views 2025
 Review 7:39
 KNOW BEFORE GOING Furano | snowboarding, snow conditions and food experiences 🏂❄️
Jenn S. Lee 262 subs
1K views 2026
 Other 0:58
 Kurodake, Hokkaido, Japan - Powder Day
Furano Powder Tours 175 subs
1K views 2025
 POV 2:55
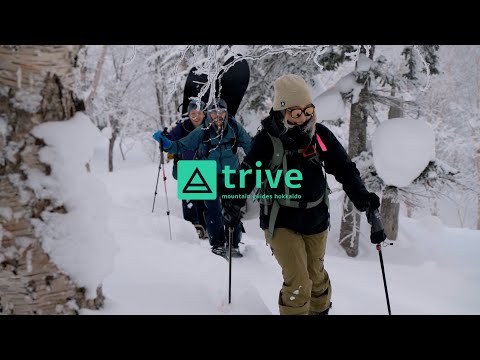
 富良野バックカントリーツアー 2025,03,03/Hokkaido Furano backcountry tour
Trive Mountain Guides Hokkaido 233 subs
1K views 2025
 Overview 1:04
 富良野スキー場【ゲレンデ紹介】
北海道上川総合振興局 122 subs
454 views 2022
 POV 3:16
 【北海道編パート2】富良野スキー場でふーちゃんとパウダーラン!
DIAMOND TV -Takumi Hirata- 5K subs
417 views 2026
 POV 5:54
 富良野スキー場の山越えが想像以上だった…【スノーボード】
ちゃっきー 北海道のアウトドアな休日 868 subs
393 views 2022
 POV 4:59
 北海道 富良野SKI場!!極上パウダースノーを堪能!! #furano #SKI #japow
北海道 アウトドアチャンネル graphicsFILM 1K subs
336 views 2022
 POV 0:22
 Spring powder day in Furano
Jana M 0 subs
285 views 2015
 POV 0:39
 Furano Powder Skiing
Hokkaido Powder Guides 1K subs
253 views 2012
 POV 2:53
 2023 Jan 7th Furano Powder Day
Matt Appleford 310 subs
227 views 2023
 Vlog 12:09
 ビリヤードプロが行く北海道スノーボード一人旅行 富良野スキー場編 雪不足
Hillary チャンネル 2K subs
219 views 2022
 POV 3:25
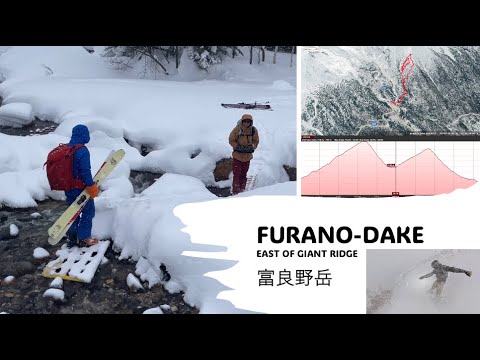
 Furano-dake Giant Ridge (East Slopes) Backcountry
Stuart Millis 273 subs
201 views 2025
 POV 3:04
 Furano Powder Day!
Matt Appleford 310 subs
187 views 2023
 POV 0:42
 Hokkaido Powder Fun in Furano #Japow #Furano #富良野 #パウダー #Hokkaido #北海道
Carl Moser 3 subs
95 views 2021
 Vlog 5:02
 Furano 富良野 スノーボード 4K ①
say tak 244 subs
90 views 2024
 POV 0:13
 2022.02.26 富良野 ちーさん パウダースノー 熊落とし
Taka Yama 24 subs
55 views 2022
 POV 9:11
 Backcountry Furano Day 1
Ross Murray 198 subs
36 views 2025
 POV 1:00
 PSYFI In the Wild Snowboarding Furano Japan
PSYFI PERFORMANCE 318 subs
24 views 2018